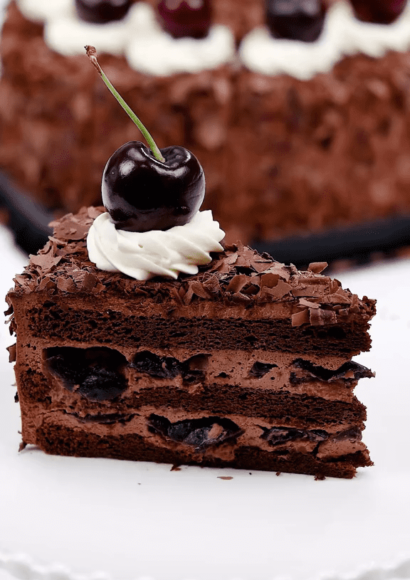
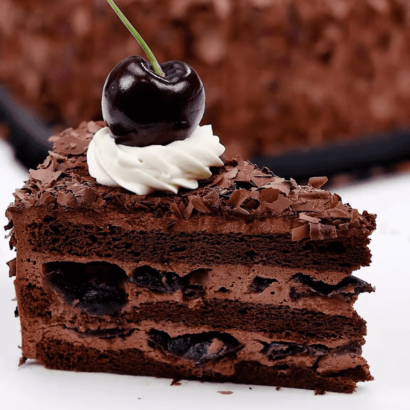
Black Forest Cake is a majestic and delicious layered cake originally from Germany , appreciated all over the world! It is made with a chocolate sponge base , soaked in Kirsch (cherry liqueur) syrup, filled with whipped cream and cherries that also decorate the surface!
To complete, decorations of chocolate flakes, which symbolically represent how thick and dark the ‘black forest ‘ is , or the German mountainous area of Baden Wurttemberg; the place where it is said the cake was born and from which it takes its name , which literally means: Black Forest Cherry Cake . Isn’t it magnificent? Today I’ll explain how to prepare it at home in a simple way !
It is good to say that there are different versions . For example, the Italian and Austrian variant is prepared with candied cherries . What I am giving you today is the original recipe for Black Forest Cake, accompanied by many tricks illustrated with step-by-step photos to get a perfect result ; which I learned to make during a professional pastry course.
The great thing is that you can make the Black Forest cake both in the summer with fresh caramelized cherries as tradition dictates. And in the winter with those in a jar (in Germany they are sold already caramelized ready to make the Black Forest) or with candied cherries or black cherries and even candied cherries! You can find all the details in the procedure! In any case, my advice is to organize yourself with the times .
Follow the instructions and you will be applauded not only for the beauty but also for the divine taste of chocolate – caramelized cherries and cream embrace perfectly together. Perfect for big occasions , from Christmas parties to dessert at the end of the meal, or of course for a chic and elegant birthday cake !
Black Forest Cake Recipe
Black Forest Cake Recipe
Ingredients
Chocolate sponge cake base:
3 large whole eggs
3 large egg yolks
160 g of granulated sugar
40g of ’00 flour + 30g of bitter cocoa powder + 1 sachet of baking powder
95 g of potato starch
1 sachet of vanilla (or vanilla extract)
1 pinch of salt
Caramelized Cherries and Kirsch Syrup:
800 g of large, plump cherries
80 g of sugar
100 ml of Kirsch liqueur
Filling:
700 ml of fresh liquid cream
125 g of icing sugar
Decoration:
200g dark chocolate
Video
How to make black forest cake
My advice is to divide the preparation into 2 days: day 1 to dedicate yourself to the basics; day 2 to the assembly.Day 1 (or do it very early in the morning if you want to do it all in 1 day)
First of all, make the base following the procedure you find in CHOCOLATE SPONGE CAKE
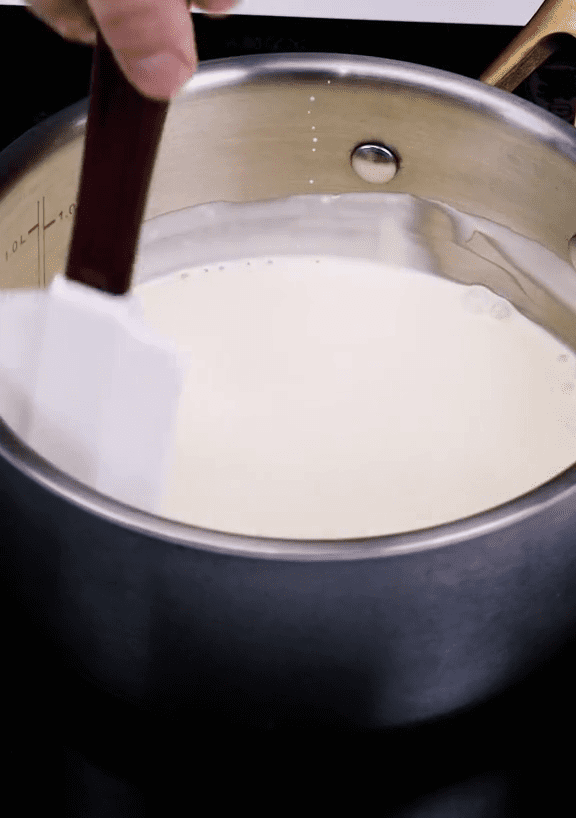
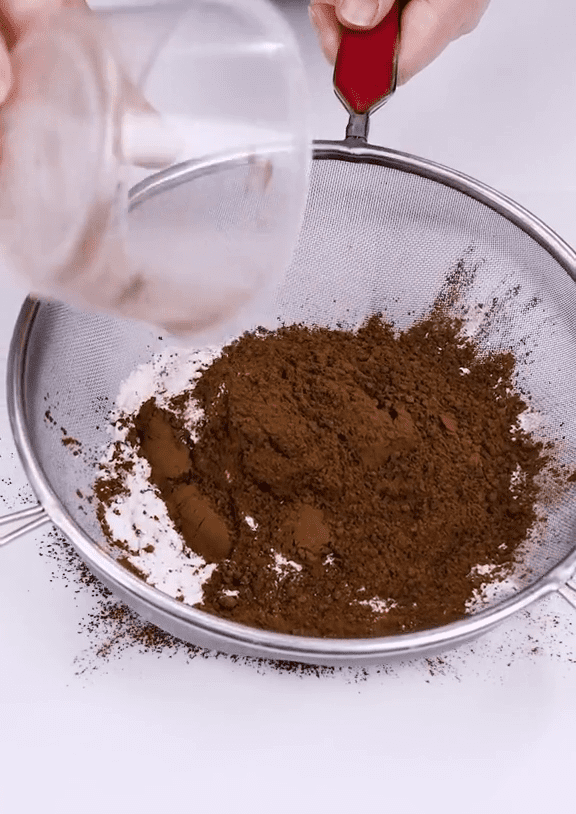
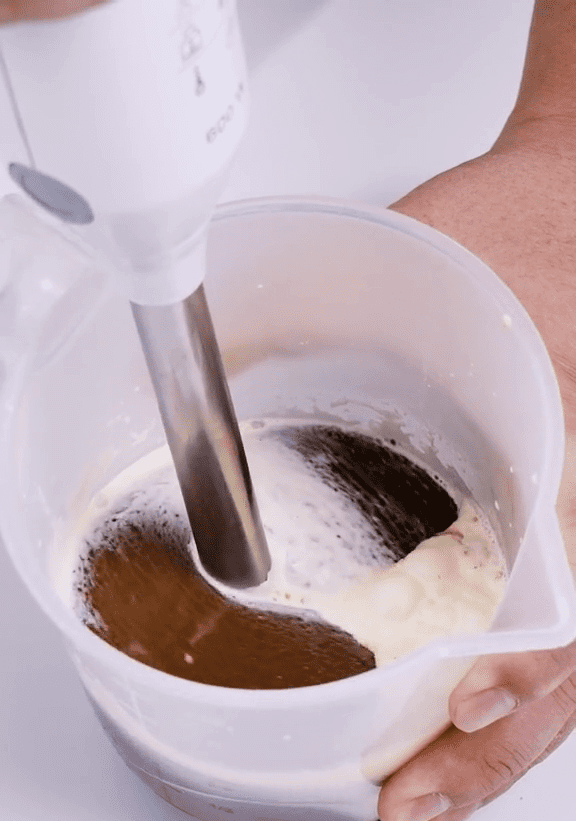
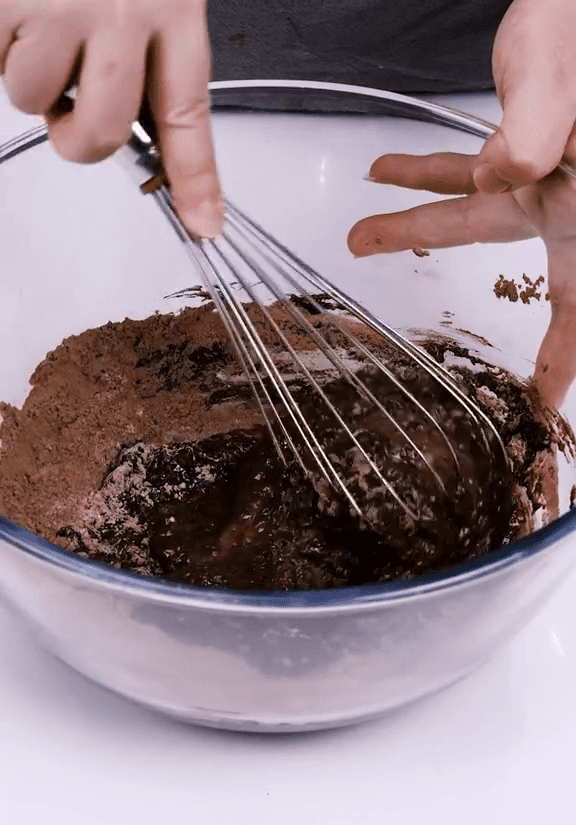
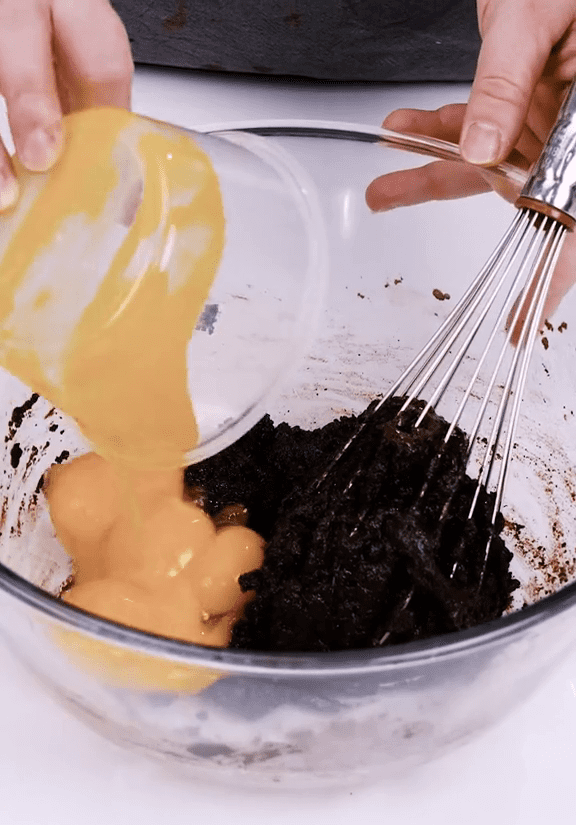
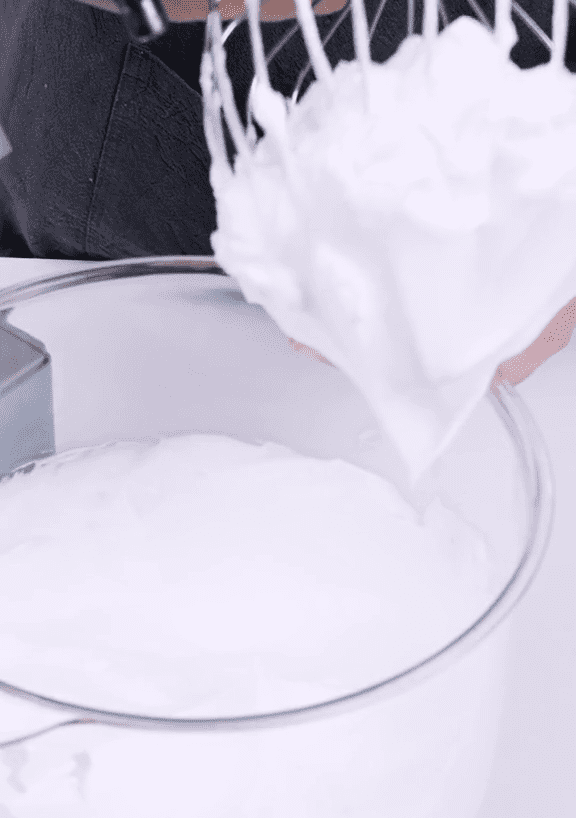
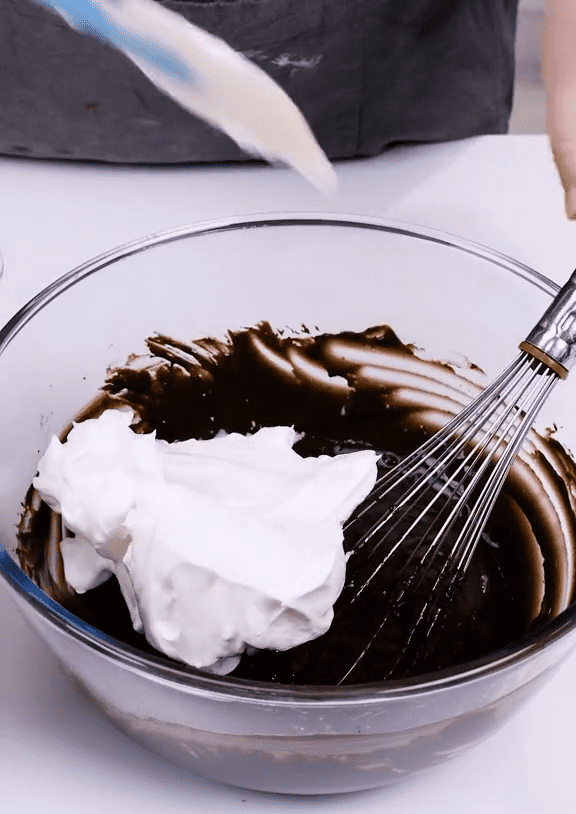
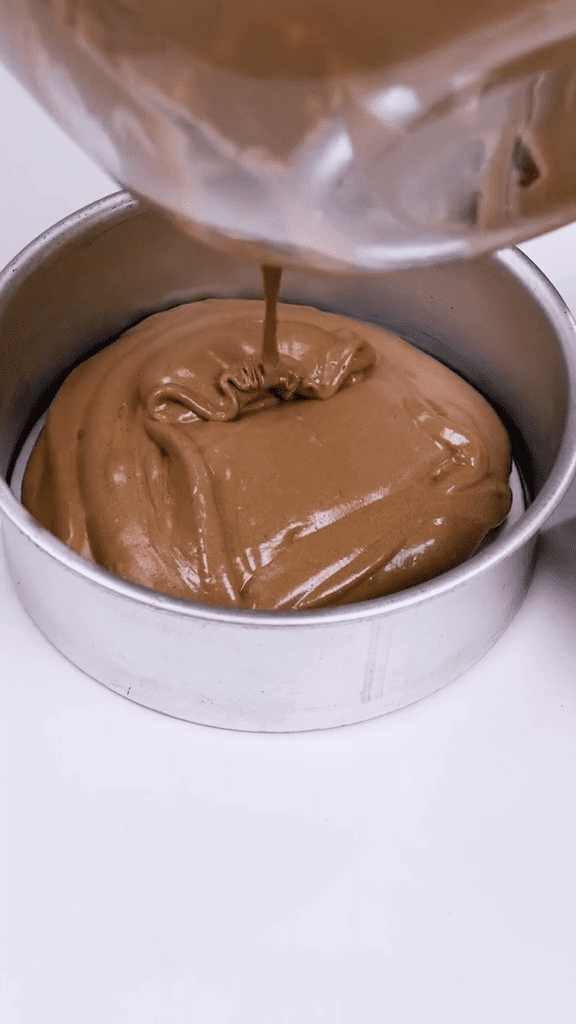
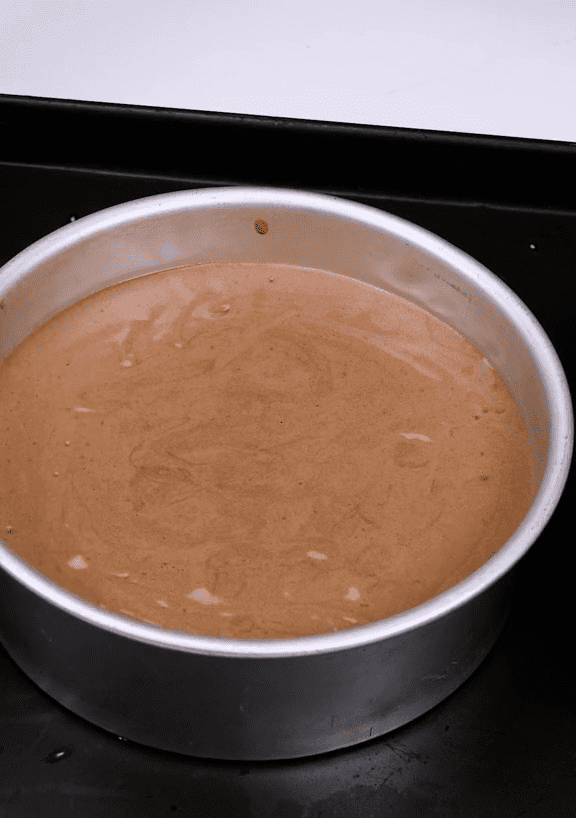
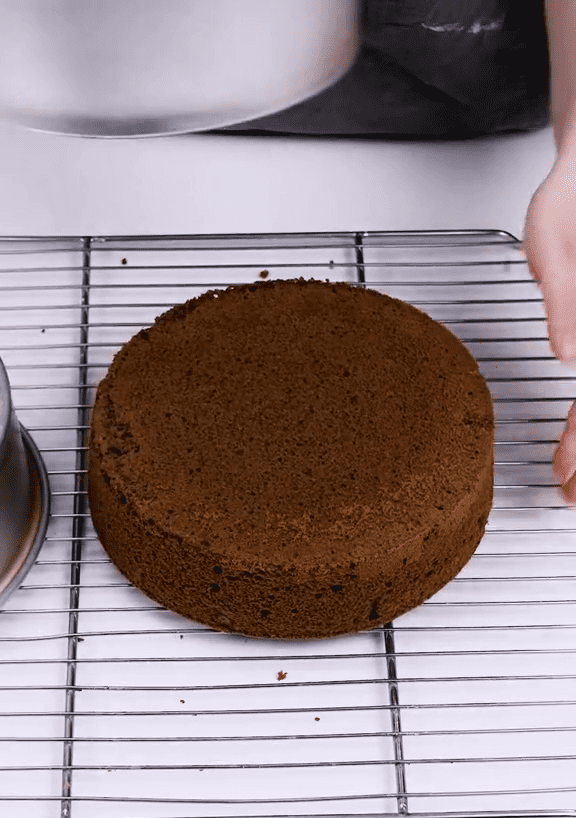
After you cook it and take it out of the mold, let it cool down for a bit. Once it’s completely cool, wrap it in plastic wrap and put it in the fridge for 2 to 3 hours. This will help you cut it more easily later!
While the base is cooking, wash the fruit (except for about 10 pieces that you will need for decoration, whole and you will wash and dry them at the end) and stone the cherries, if you do not have the appropriate tool, you can easily use a rigid straw:
Finally, add the pitted cherries to a pan together with the sugar, stir well and caramelize over a low heat for 5 minutes, then add the Kirsch liqueur and leave to simmer over a low heat for about 5 minutes.
The result should be juicy caramelized cherries full of syrup, not crumbled but whole:
Finally, filter the juice which will become the Kirsch syrup and set aside the cherries which will be the filling of the Black Forest cake:
Seal both bowls with cling film and, after letting them cool to room temperature, place them in the fridge for 2 – 3 hours.
Day 2 (or to be made in the middle of the day after having respected at least 3 hours of rest between sponge cake in the fridge/soak and cherries)
Assembling the Black Forest Cake (helpful tips and tricks)
First, take the chocolate cake, cherries, and syrup out of the fridge and let them sit on the counter for at least 20 minutes before you start making your treat.
While you’re mixing, beat the cream with the sugar until it gets thick and fluffy. Just be careful not to mix it too much, or it will turn into something lumpy!
In the end, I think it’s a good idea to put the whipped cream straight into a piping bag so it’s easier to fill things up.
Then divide the sponge cake into 3 discs of the same thickness, approximately 2 cm, mark the lines with a cut, to avoid mistakes, and proceed with a sharp knife.
Now, put the chocolate cake on the plate where you want to serve it.
Then proceed to wet, using a kitchen brush, starting from the edge and then wetting the inside a little.
Be careful! Do not wet this first base too much or you risk breaking the cake.
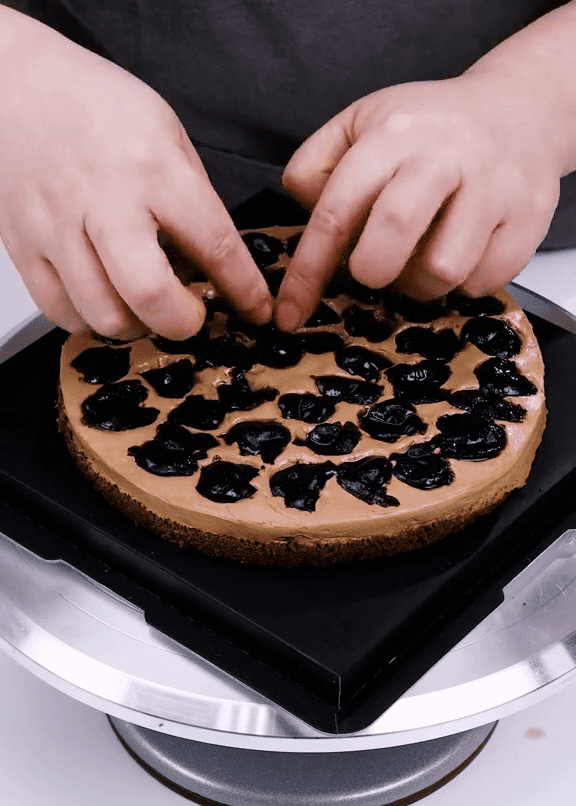
Then add a generous layer of whipped cream and a handful of caramelized cherries:
Now, put another round piece of chocolate cake on top of the filling you just made. Do the same thing again: first, make the cake a little wet around the edges, then spread the whipped cream on top, and finish by adding the yummy caramelized cherries.
Finally, add the last disc of chocolate sponge cake, the last soaking in syrup.
Then cover the entire Black Forest cake with the remaining whipped cream, starting from the surface and then moving on to the sides:
Then return to the surface and flatten well.
At this point, place the cake in the fridge to firm up and also place the cream in the fridge that you will need to finish the decoration.
Black forest cake decoration
While the cake is in the fridge you can quickly make the chocolate decoration.
First of all, grate about 2 tablespoons of flakes from the whole chocolate which will be used as decoration on the surface.
First, heat up the rest of the chocolate using a special bowl that sits over hot water, called a bain-marie. Then, to make the chocolate smooth and shiny, use two knives or spoons to mix it quickly. You can also use a metal spatula to stir and chop the melted chocolate so it doesn’t get any white lines in it.
Next, use a spatula to spread it out flat on baking paper until it’s as thick as a pencil. Then, carefully roll it up, but don’t roll it too tightly!
Roll everything up tight and put it in the freezer for about half a minute to a little over a minute so it gets nice and firm!
Watch out! If you leave it in the freezer, it will get really hard and it will be hard to get long pieces out.
When you unroll it after the indicated time, the chocolate will be solid but still soft, so that, while unrolling, you will be able to gradually cut strips that will act as a black forest!
At this point we’re there!
First of all, take the cake out of the fridge, wash and dry the rest of the cherries perfectly.
Then put the rest of the whipped cream in a piping bag with a star-shaped nozzle and make tufts, one next to the other.
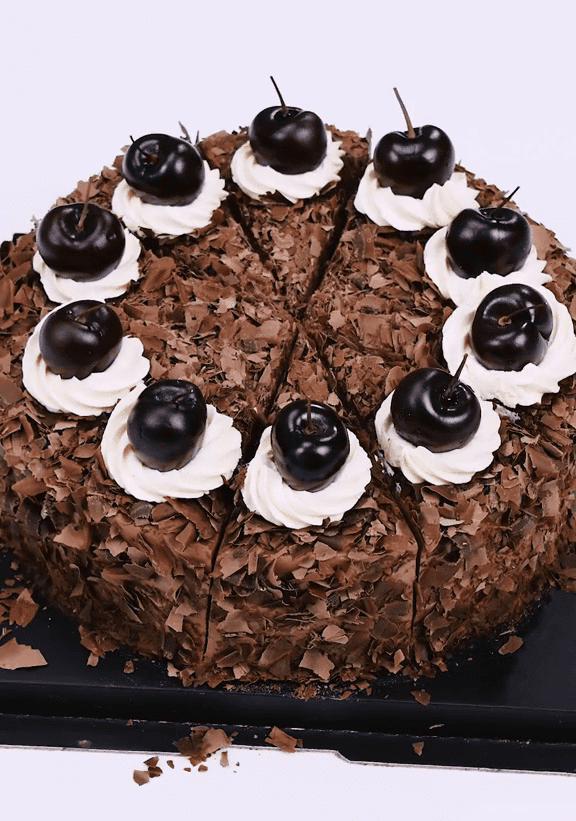
Then insert the chocolate flakes in the center and finally add the long chocolate decorations on the edge, alternating longer pieces with smaller pieces.
At this point add a cherry on each tuft of cream.
Here is your Black Forest Cake ready
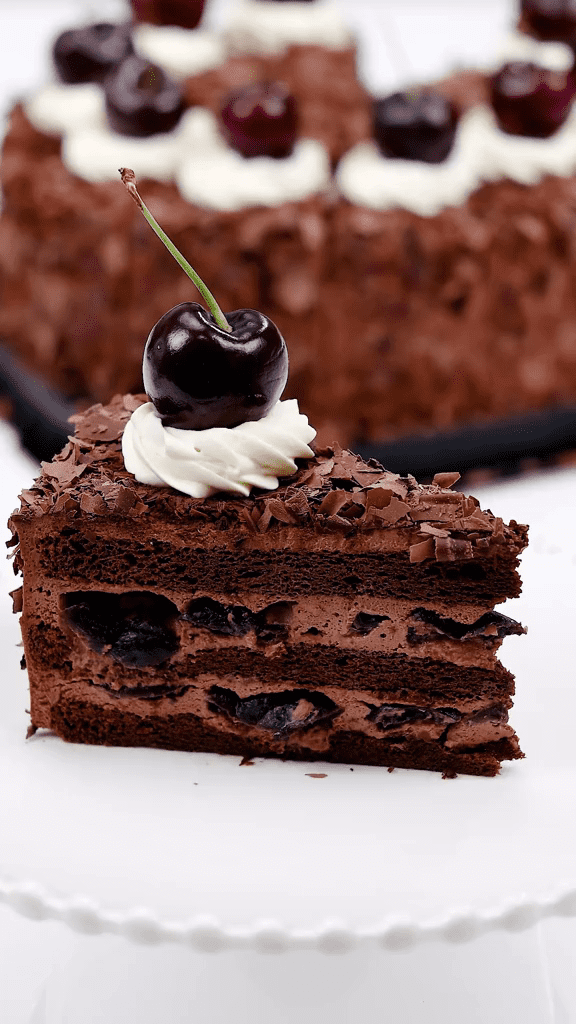
My advice is to leave it in the fridge for at least another 30 minutes before serving, better yet 1 hour.
Here’s what the inside of a slice of Black Forest Cake looks like :
Tips and Variations
If you don’t have fresh cherries you can make the Black Forest cake with black cherries or with candied cherries or cherries in syrup from a jar.
What to use instead of Kirsch? You can use rum or a liqueur of your choice.
If you want to make a non-alcoholic Black Forest Cake , therefore without liqueur, I recommend you make my Vanilla syrup which you can add directly to the cherries to be caramelized exactly as the procedure indicates instead of the Kirsch.
Finally, for those who want to make a super easy Black Forest Cake , you can simply replace the fruit and skip the whole caramelization step and alternate layers of cream and cherry jam !
Conservation
In the fridge for about 2 days, then I recommend freezing! Are you looking for more creative ideas? Check out my entire collection of Decorated Cakes


